纠结了好久终于最后还是选择在 GitHub Pages 上搭建静态博客,博客选用了 Hugo 框架,主题选用了 reuixiy 的 Meme 主题。

为了更方便的部署管理博客内容,决定使用 GitHub Actions 实现博客的持续集成部署。本文记录一下 GitHub Actions 配置的详细过程。

创建仓库并 Push 源码

首先创建两个 GitHub 仓库,一个仓库命名为 hugo-blog-source,源代码仓库可以设置为私有,看自己选择。另一个仓库命名为 username.github.io,第一个仓库用来存放博客的源文件,第二个仓库则用来存放 hugo 生成静态博客网站的代码。

创建完两个仓库之后,使用 git 将博客的源代码 Push 到 hugo-blog-source

配置密钥到仓库

使用以下命令生成 SSH 密钥:

1
ssh-keygen -t rsa -b 4096 -C "your_email@example.com"

如果之前生成过密钥需要注意这次的路径要修改一下,以免覆盖之前的密钥文件。

下面将 Public Key 添加到博客仓库的 Deploy Keys 中,位置:Settings > Deploy keys > Add deploy key。注意要勾选 Allow write access 选项

然后将 Private Key 添加到源文件仓库中,位置:Settings > Secrets > New secret。注意此时的 Secrets Name 要为 ACTIONS_DEPLOY_KEY,在之后的 workflow 配置中会使用到。

创建 Workflow 配置文件

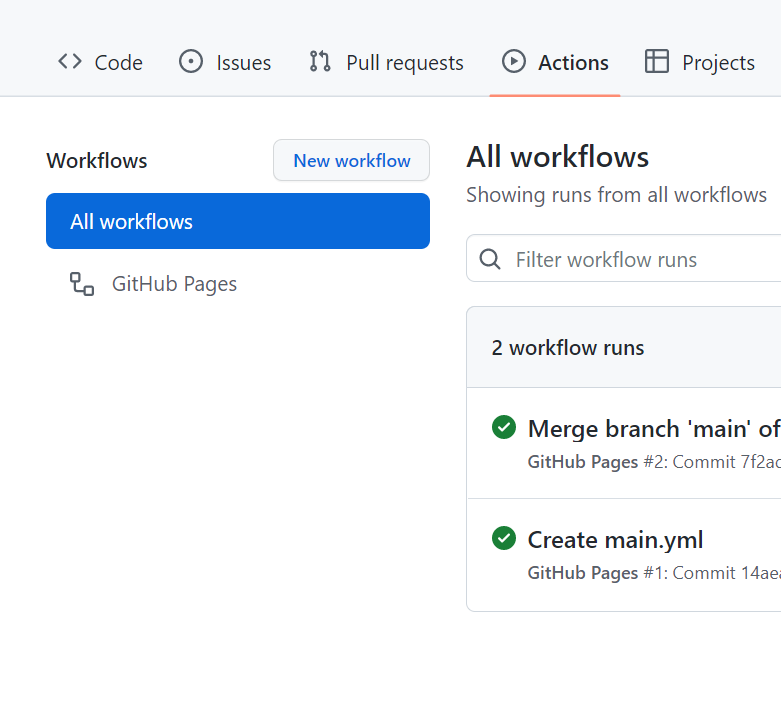
使用了 Hugo setup 来集成部署博客。在源文件的仓库中进入 Actions,创建新的 Workflow 文件,默认文件名为 mian.yml,添加如下配置:

 1
 2
 3
 4
 5
 6
 7
 8
 9
10
11
12
13
14
15
16
17
18
19
20
21
22
23
24
25
26
27
28
29
30
31
32
33
34
name: GitHub Pages

on:
  push:
    branches:
      - main  # Set a branch to deploy

jobs:
  deploy:
    runs-on: ubuntu-20.04
    concurrency:
      group: ${{ github.workflow }}-${{ github.ref }}
    steps:
      - uses: actions/checkout@v3
        with:
          submodules: true  # Fetch Hugo themes (true OR recursive)
          fetch-depth: 0    # Fetch all history for .GitInfo and .Lastmod

      - name: Setup Hugo
        uses: peaceiris/actions-hugo@v2
        with:
          hugo-version: 'latest'
          extended: true

      - name: Build
        run: hugo --minify

      - name: Deploy
        uses: peaceiris/actions-gh-pages@v3
        if: ${{ github.ref == 'refs/heads/main' }}  # 指定仓库分支为 main 的时候启用 Deploy
        with:
          deploy_key: ${{ secrets.ACTIONS_DEPLOY_KEY }} # 使用 deploy_key
          external_repository: username/username.github.io  #
          publish_branch: main  # 部署分支

最后保存文件,以后每次提交新的源文件便会自动部署 Hugo 生成的博客网站文件